
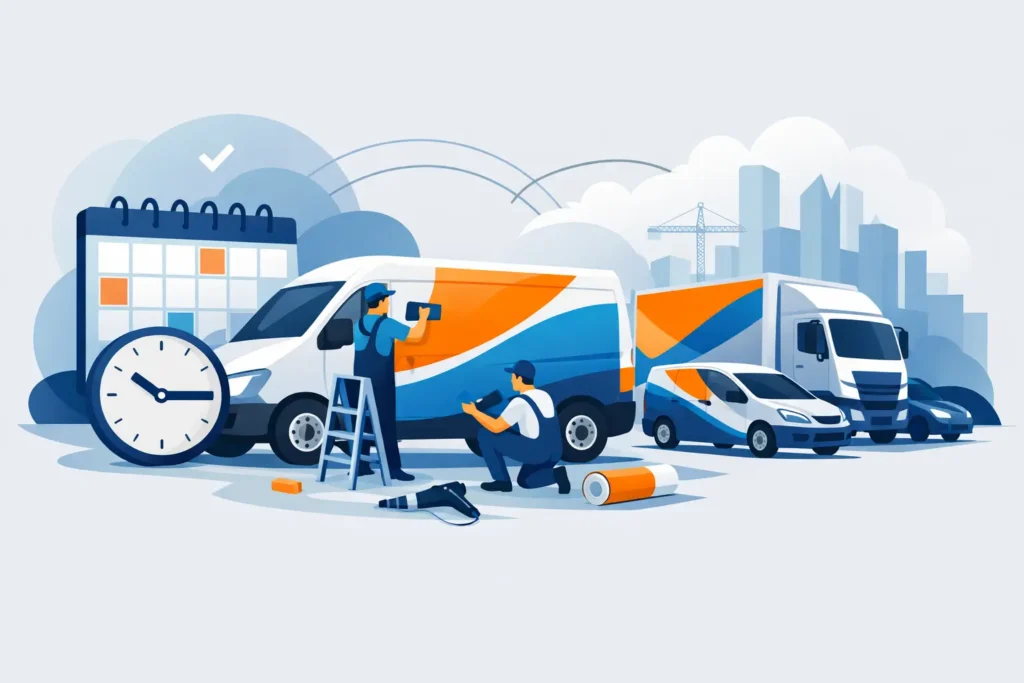
A branded fleet only works when the vehicles are on the road. That is why a fleet branding installation timeline should account for more than design and print production. It must also protect dispatch coverage, coordinate vehicle availability, allow time for approvals, and give installers the clean, workable conditions needed to produce consistent results.
For a small group of vehicles with finalized artwork, the process may move quickly. A larger rollout involving several vehicle types, changing graphics, vendor requirements, or staggered routes needs more planning. The most reliable projects begin with a realistic schedule built around your operation, not an arbitrary install date.
What Shapes a Fleet Branding Installation Timeline
Most fleet branding projects move through five stages: discovery, design, approval, production, and installation. The overall schedule commonly ranges from a few weeks for a straightforward order to six weeks or more for a multi-vehicle fleet with custom design development and phased installation.
The number of vehicles matters, but it is not the only variable. A five-vehicle fleet with vans, pickups, trailers, and box trucks can require more setup than ten identical cargo vans. Each vehicle model may need its own measurements, templates, panel layouts, and installation plan.
The type of graphics also affects timing. Simple cut vinyl lettering and spot graphics generally require less production and installation time than full or partial wraps. Reflective vinyl, specialty films, textured surfaces, complex contours, and graphics that extend across doors, bumpers, or body seams require added care. The goal is not merely to apply graphics quickly. It is to make every vehicle look intentional, readable, and consistent with your brand standards.
Vehicle condition can create delays as well. Wrap films and decals adhere best to clean, sound painted surfaces. Rust, peeling clear coat, fresh paint, body damage, wax residue, and silicone-based cleaners may need attention before installation. Addressing those issues early is less expensive than discovering them when an installer is ready to begin.
Stage 1: Discovery and Vehicle Review
The first stage establishes the scope. Your sign partner will need a complete vehicle list with year, make, model, trim, color, and body type. Photos are useful, particularly for utility bodies, trailers, specialty equipment, or vehicles that have existing graphics.
This is also the time to define the business purpose of the graphics. A service company may prioritize a phone number, website, and service category that can be read from a distance. A contractor may need unit identification, regulatory markings, safety messaging, and trailer graphics that remain visible at a jobsite. Franchise operators may need to follow a corporate brand package while adapting it to local vehicles.
A good discovery process identifies practical constraints before artwork begins. Consider where vehicles are stored, when they can be taken out of service, whether they can fit inside an installation bay, and whether drivers need certain units available every day. For fleets operating across Northern Colorado and Southern Wyoming, seasonal weather and travel schedules should also be part of the discussion.
Stage 2: Design, Measurements, and Approvals
If your artwork is complete and built for the correct vehicle templates, the design phase may be brief. If you are developing a new fleet look, expect time for layout concepts, revisions, brand review, and final proof approval. This stage is where the strongest installation outcomes are won.
Vehicle graphics have to work in motion and at a distance. A logo that looks strong on a business card can become difficult to read when placed over a door handle, wheel well, or rear panel. Experienced designers account for body lines, windows, fuel doors, sensors, sliding doors, and the different viewing angles of each vehicle type.
Plan for at least one internal decision-maker to consolidate feedback. Multiple uncoordinated reviewers can stretch a two-day approval process into two weeks. Before approving final artwork, confirm spelling, phone numbers, web addresses, license or DOT information, logo usage, colors, and unit-specific details.
Approval delays are usually preventable
The fastest way to keep a fleet project moving is to decide who has final approval before the first proof is sent. Marketing may own the brand standards, operations may manage availability, and leadership may approve the budget. All three perspectives matter, but a clear approval path prevents late changes after materials have been ordered or printed.
Changes after proof approval may require new production time and can affect the installation schedule. That is especially true when the change involves a full wrap panel, a specialty material, or a fleet-wide design revision.
Stage 3: Material Production and Pre-Installation Planning
Once artwork is approved, production begins. For cut vinyl graphics, this may include printing, laminating, cutting, weeding, masking, and organizing graphics by vehicle. For wraps, printed panels need appropriate curing time after printing and laminating before installation. Rushing this process can affect finish quality and long-term performance.
At this point, your installer should confirm the rollout sequence. A phased schedule is often the practical choice for working fleets. Rather than parking every vehicle at once, you might install two or three units per day, schedule work around slow periods, or prioritize vehicles assigned to high-visibility routes.
A shared schedule should identify the vehicle, its assigned installation date, arrival time, expected downtime, and the person responsible for releasing it. This sounds basic, but it prevents a common problem: installers are ready, while the vehicle is at a jobsite or assigned to an unexpected service call.
Stage 4: Installation Day and Vehicle Downtime
Installation time depends on the graphic package and the vehicle. Basic lettering or door logos may take a few hours. More detailed spot graphics can take most of a day. Full wraps may require one or more days per vehicle, especially when there are deep recesses, multiple panels, or detailed trim work.
Vehicles should arrive washed, dry, and free of loose cargo. A professional installation team will still prepare the graphic areas, but a heavily soiled vehicle, fresh road grime, or a last-minute wash that leaves water trapped in seams can slow the work. Do not apply wax, ceramic coating, tire shine, or paint protectants near graphic areas before installation unless your graphics provider has approved the product.
Indoor installation is preferred because temperature, dust, wind, and moisture affect vinyl application. If a fleet includes oversized trucks, trailers, or equipment that cannot enter a production facility, an on-site installation plan may be possible. It requires the right weather window, work area, access, and safety conditions. This is one area where the timeline depends heavily on the site.
After installation, graphics may need a short post-install period before aggressive washing or pressure washing. Your provider should give clear care instructions for the specific material used. Following them protects the finish and helps the graphics perform as intended.
Stage 5: Quality Control and Rollout
Before vehicles return to service, each one should be reviewed against the approved proof. Check logo placement, contact information, unit numbers, regulatory markings, alignment across doors and panels, and any reflective or safety elements. Quality control is particularly valuable when multiple installers, vehicle models, or installation days are involved.
For larger fleets, designate one person to track completed units and note exceptions. A damaged panel, a vehicle that missed its appointment, or a late-added truck should be logged rather than handled informally. That record makes it easier to complete the rollout and order future replacement graphics with consistency.
Action Signs can manage design, in-house production, and installation as one coordinated process, which helps reduce handoffs and keeps the schedule tied to the realities of your fleet.
How to Keep Your Schedule on Track
The most dependable fleet projects are prepared before production begins. Provide an accurate vehicle roster, share brand assets in their original formats, confirm the people who can approve artwork, and reserve vehicle downtime early. If you expect new vehicles to arrive during the project, include that possibility in the schedule rather than treating it as a last-minute addition.
It also helps to build a small buffer into your launch date. Weather, emergency service calls, vehicle repairs, and approval changes are normal operational realities. A buffer gives your team room to solve problems without sacrificing install quality or pulling critical vehicles off the road at the wrong time.
A fleet is a moving part of your business, not a static advertising surface. Plan its branding rollout with the same care you give equipment scheduling and customer commitments, and the finished vehicles can begin representing your company with confidence from the first day back in service.


